OLD MASTER PRODUCTS

Hardwood Flooring and Mouldings

  • Home
  • About
  • Products
    • Flooring
      • Allora
      • Garrison
      • Appalachian Flooring
      • Sheoga Hardwood
    • Sundries
    • Mouldings
  • Locations
  • Resources
    • FAQs
    • Return Policy
    • Inventory Hold Policy
    • Privacy Policy
    • Specials
  • Blog
  • Careers
  • Contact
    • Open An Account
  • (800) 300-5158

By

Vinyl Floor Installation: Tips & Tricks

When it comes to vinyl floor installation, it’s all about the details. These details are often overlooked by novice installers who only know the basics of laying down a new floor. Have no fear – with the right tips and tricks, you can get perfect results time and time again. Whether you’re a professional flooring installer, or a newer installer just starting out, follow these tips and tricks for a flawless vinyl floor installation every time. 
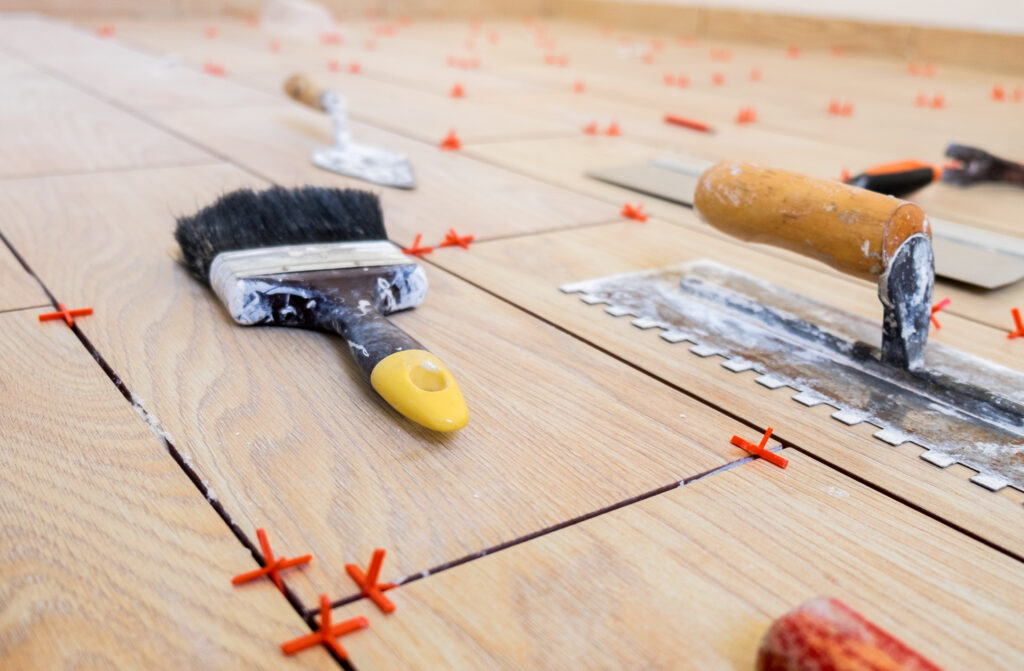
Use the Right Tools

Blog Graphics for Vinyl Floor Installation Tips & Tricks for Perfect Results - Old Master Products - Garrison Collection - Use the Right Tools

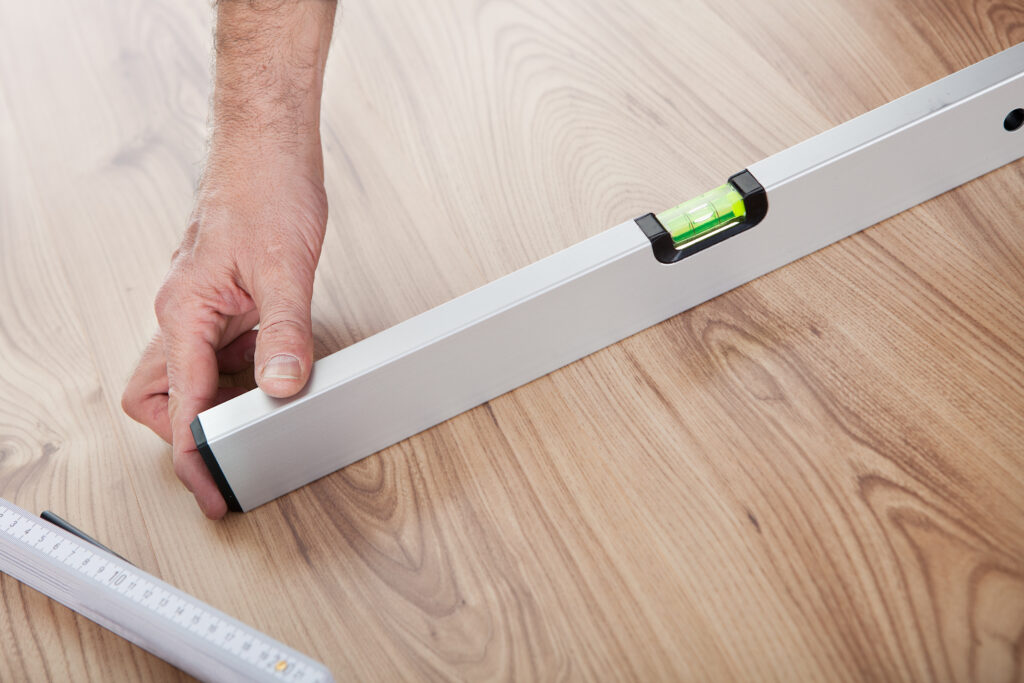
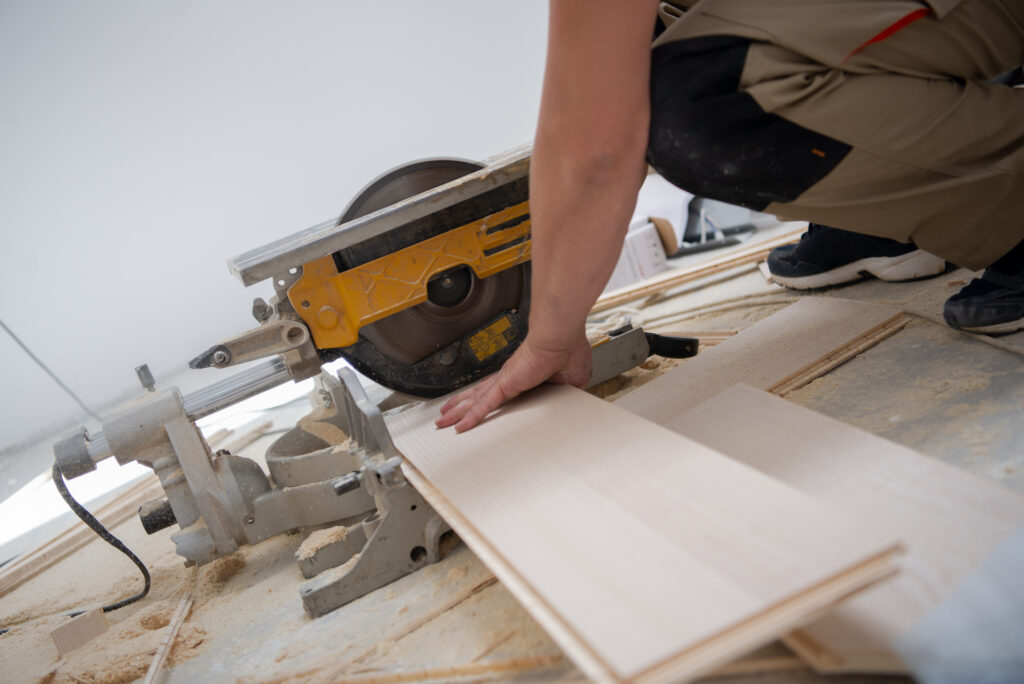
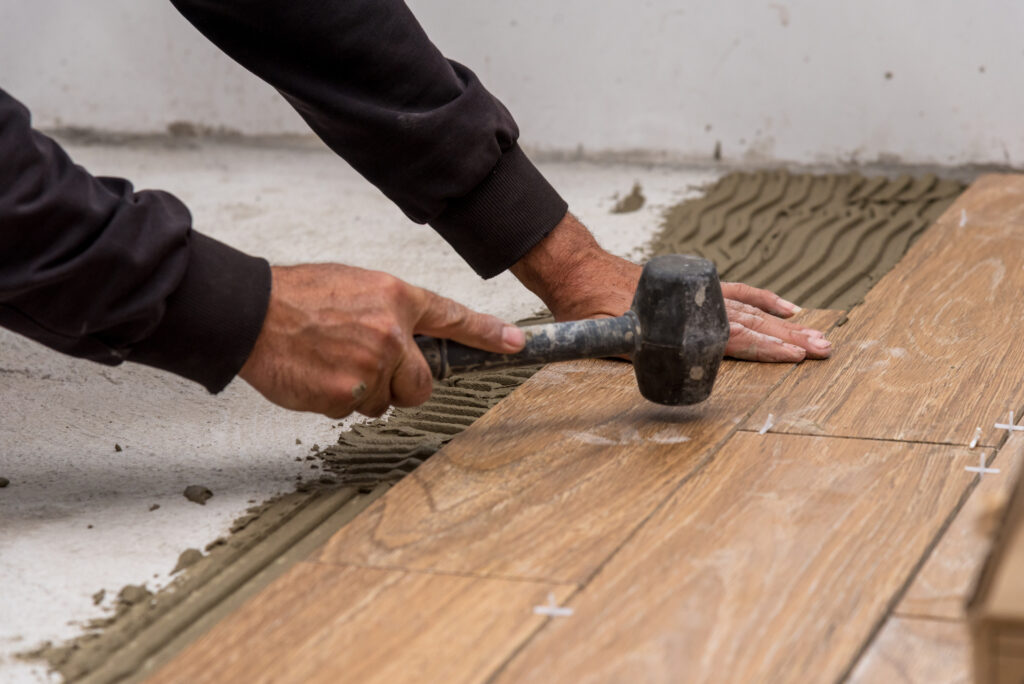
Having the right tools for the job is essential. Make sure you have a utility knife, a pull bar, spacers, a pencil, a tape measure, a ruler, a large combination square, a white rubber mallet, goggles, and a saw with a fine tooth. Advanced tools are optional but recommended, like a combination saw, a table saw, a Roto Zip with a carbide tip, a jigsaw, a HEPA vacuum, a circular saw, an undercut saw, and a D-Cut LP-330 LVT/VCT/WPC Flooring Cutter.

Acclimate

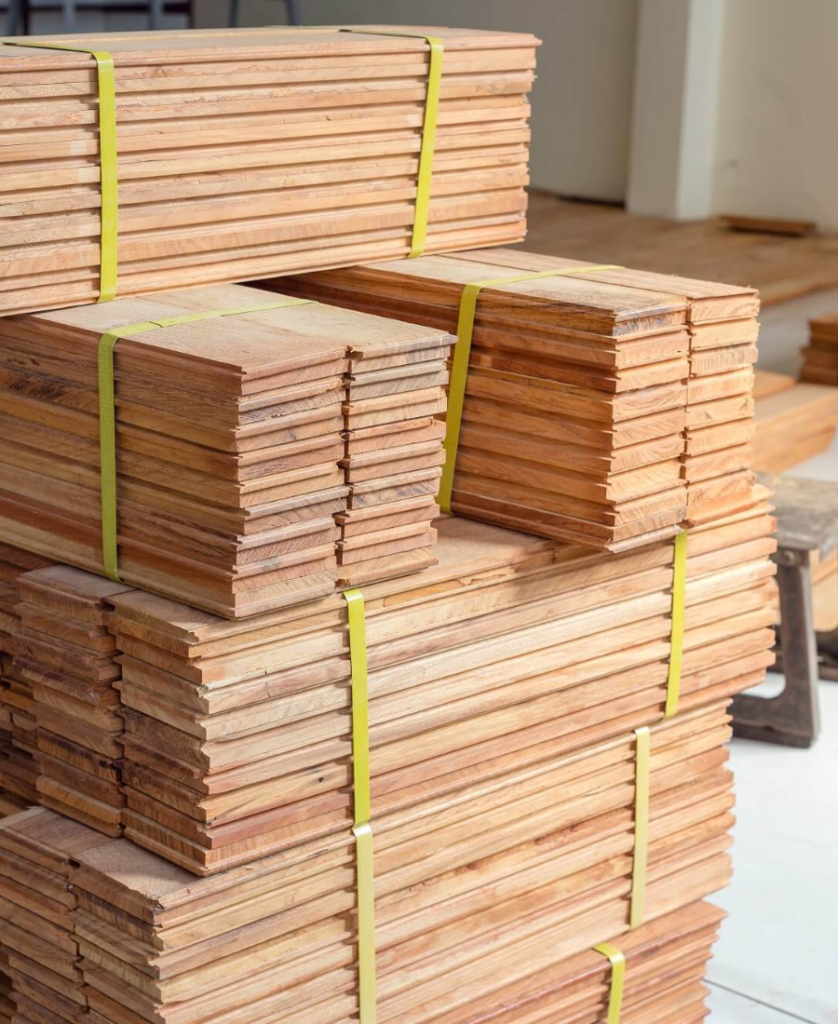
Our next tip for perfect vinyl floor installation is to acclimate your flooring: allowing the planks or tiles to adjust to the room’s temperature and humidity before starting the installation. Make sure that you are working in a climate-controlled environment with constant ambient temperatures of 65°F (approx. 18°C) for 48 hours before, during, and after beginning the installation.
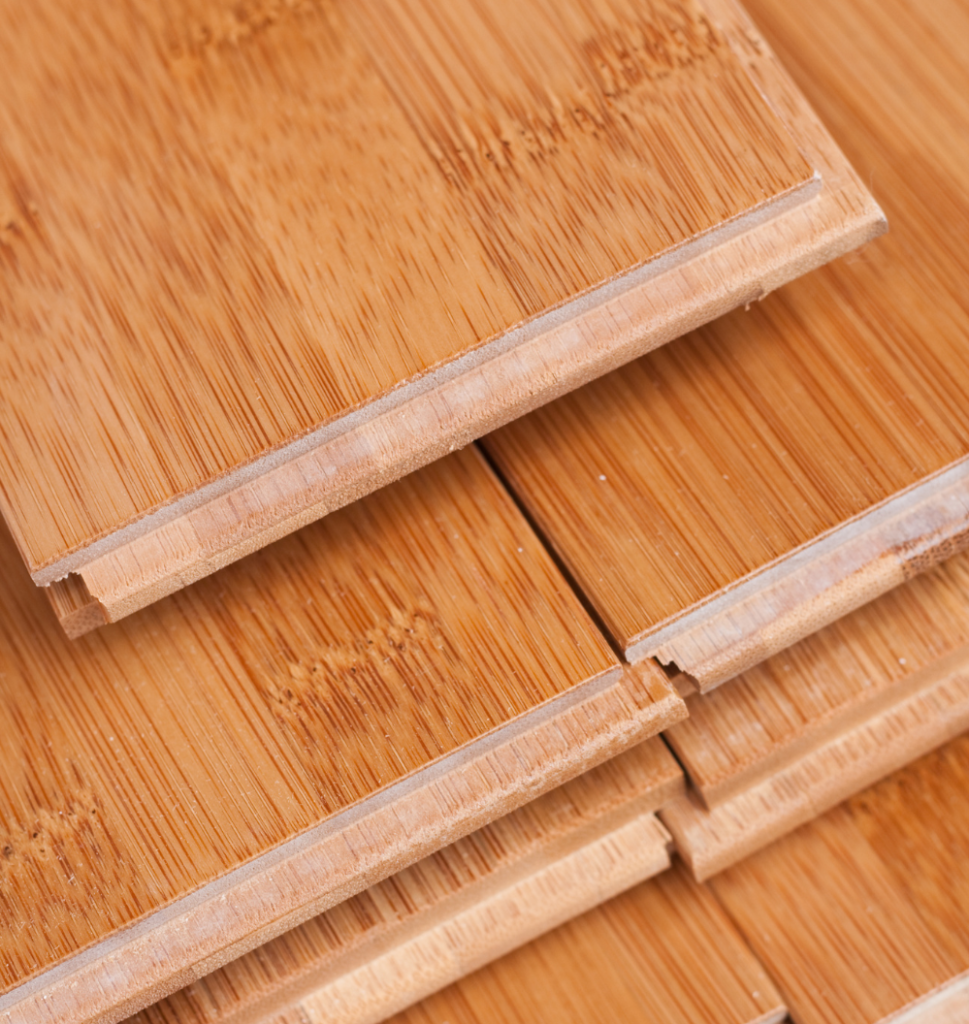
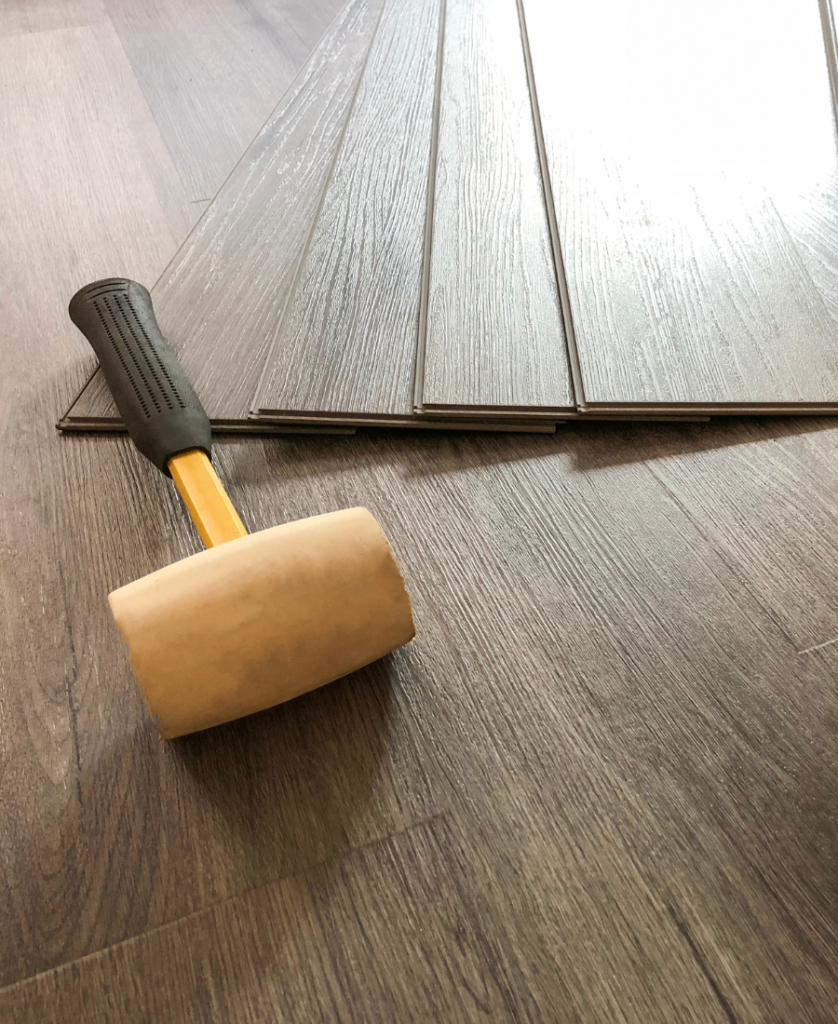
Layout & Staggering

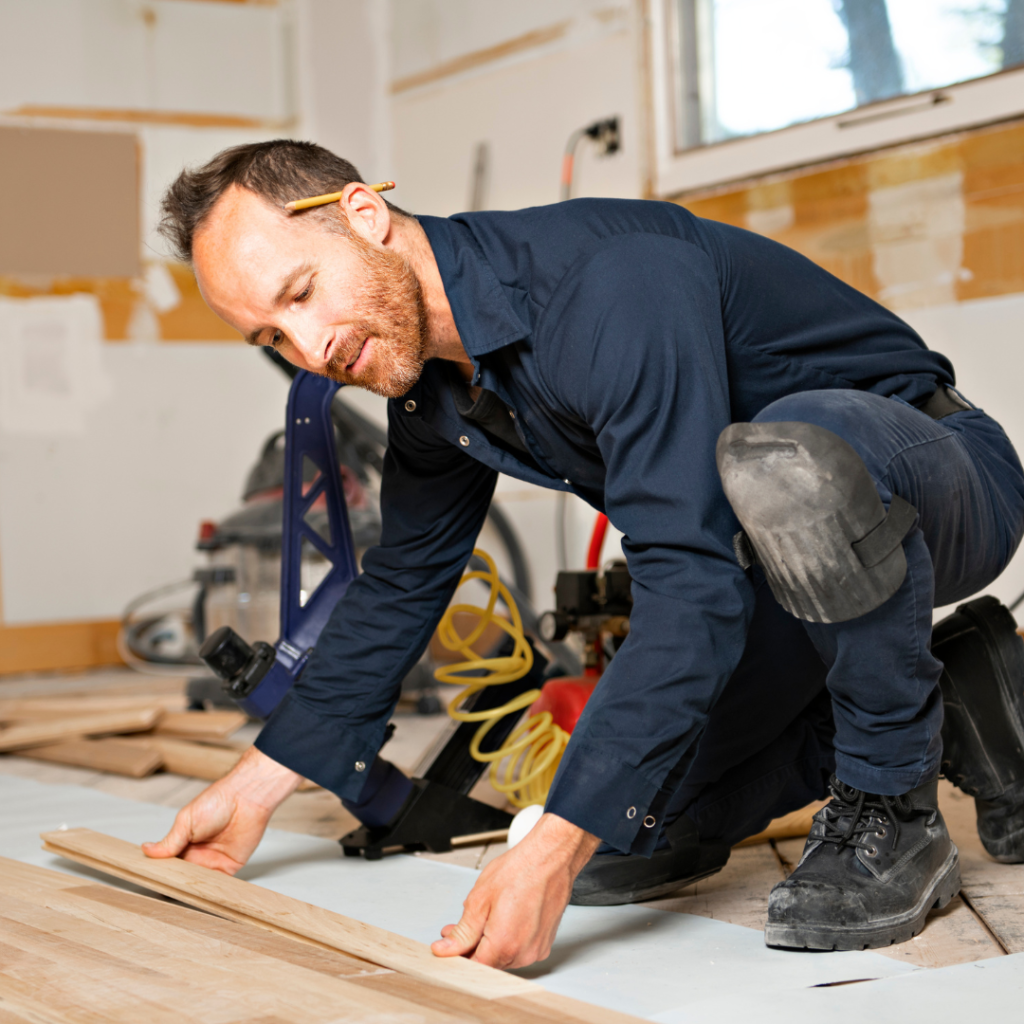
An important part of the installation process is the layout and staggering of the planks or tiles. For a perfect result, you should start in one corner of the room and work your way out towards the opposite wall, randomly staggering the ends. You should also work with multiple boxes at a time in order to create a natural-looking variation on the floor. 
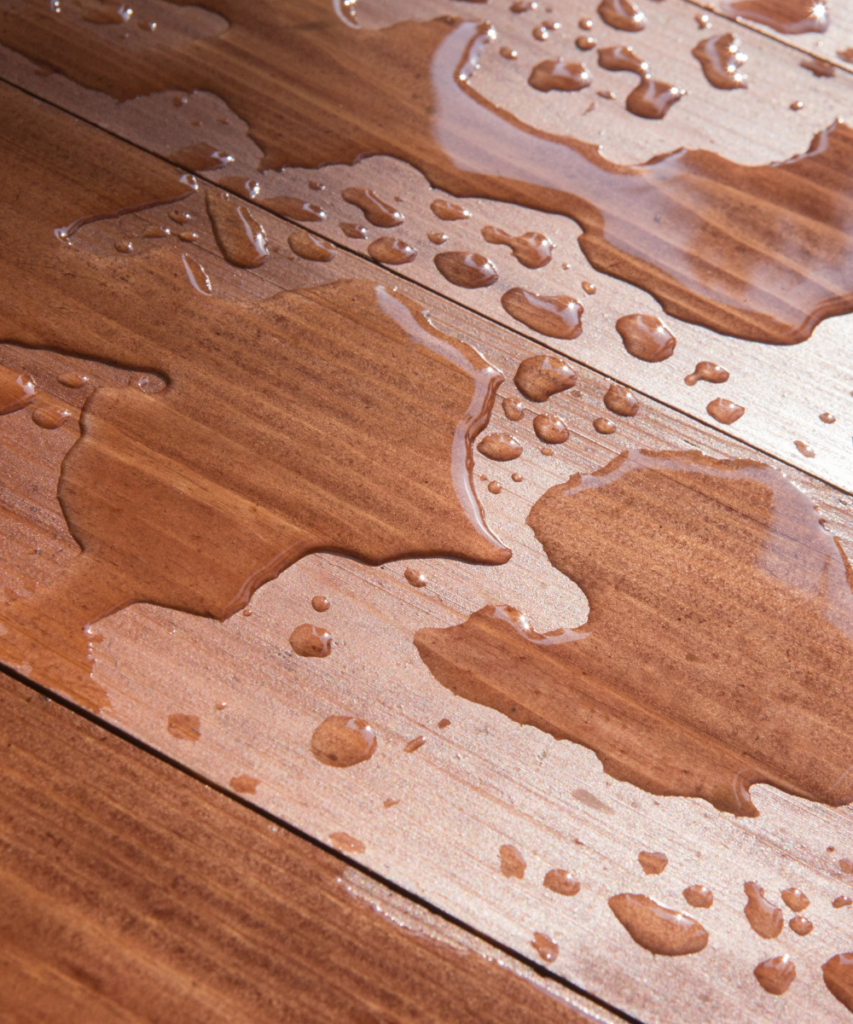
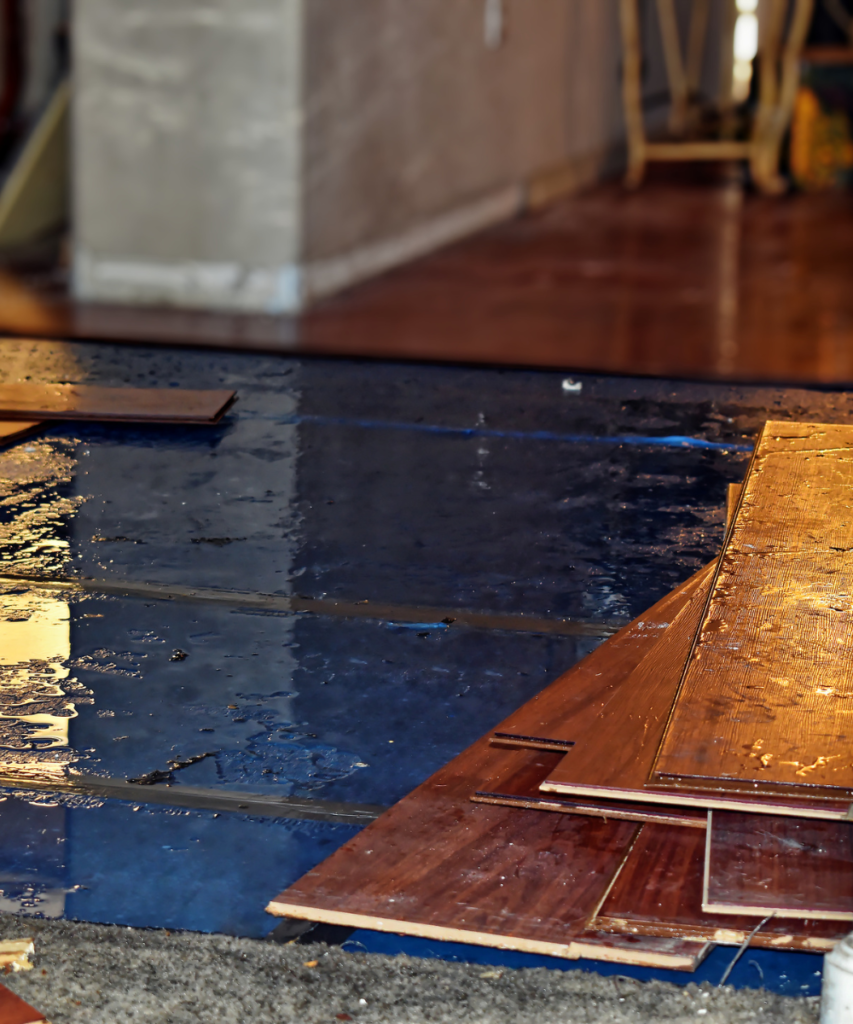
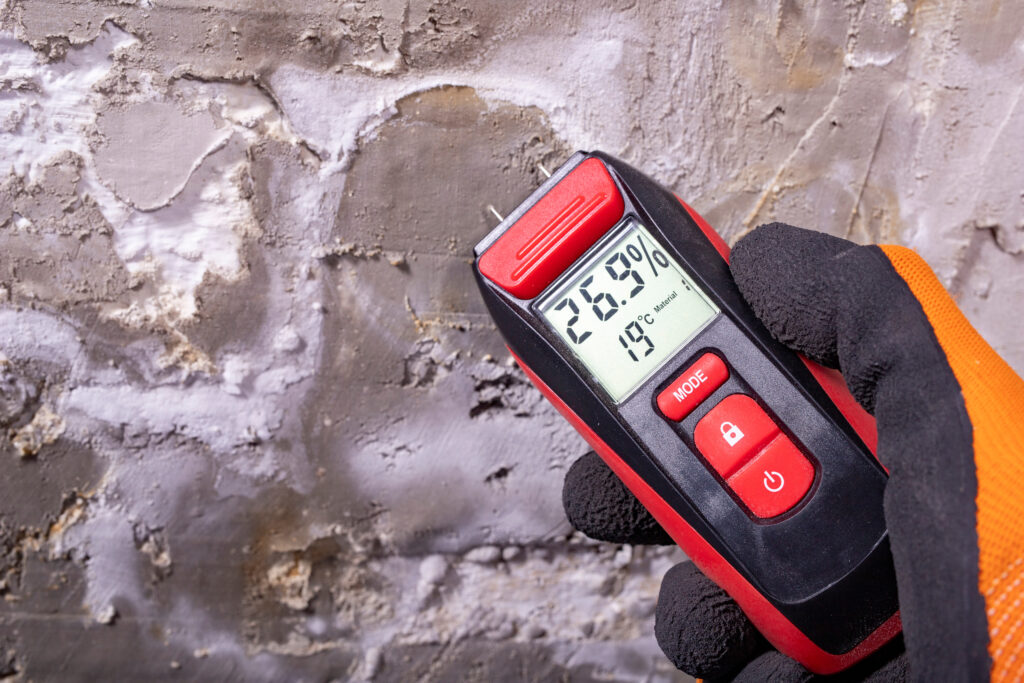
Moisture Barriers

Often overlooked, moisture barriers are a must-have for any vinyl floor installation. It is recommended that you use a Garrison Moisture Barrier (or equivalent product) at least 6 mil thick (We recommend 10 mil). This will add an additional layer of protection against excess moisture and seasonal changes.

Overall

Vinyl floor installation can be tricky for those without the proper experience and know-how. But, by following these tips and tricks, you’ll be well on your way to perfect vinyl floor installation. With the right preparation and tools, you can create a floor that you and your customers will love.

Looking for an on-the-go reference? Our Vinyl Installation Instructions are available here. 

If you need help or have any questions, you can contact us here and our flooring specialists will be in touch soon. 

Filed Under: Flooring Installation, Resilient Flooring Tagged With: Floor Installation, Flooring Installation, Install, Installation, Tips, Tips and Tricks, VInyl, Vinyl Floor, Vinyl Flooring, Vinyl Installation

By

Handling Weather Issues & Flooring Installs

As a flooring installer, there’s nothing more frustrating and disruptive than dealing with weather issues during flooring installations. From rainy days to humidity to extreme heat, there are plenty of ways for Mother Nature to put a proverbial wrench in the works. But don’t fret! Just because the weather isn’t cooperating doesn’t mean you have to cancel those flooring installations. Here are some tips for tackling weather issues so you can stay productive even when the skies are uncooperative.

Look at the Forecast

Tips for Handling Weather Issues During Flooring Installations - Look at the Forecast

Before you begin your flooring installation, take time to look at the weather forecast. Pay close attention to the high and low temperatures, as well as relative humidity. All these factors can affect the quality of the installation, so it’s important to think ahead. Keep in mind that certain products require specific temperature and humidity levels to ensure they look their best.

Have a Backup Plan

The most important thing flooring installers can do when facing weather-related issues is to have a backup plan in place. This means being prepared for rain, humidity, cold, heat, and other extreme weather conditions. If the weather turns for the worse, you might need to reschedule, wait for better conditions, or find another way to complete the installation.

Tips for Handling Weather Issues During Flooring Installations - Use High-Quality Materials.png

Take Protective Measures 

Tips for Handling Weather Issues During Flooring Installations - Take Protective Measures .png

Protective measures are another way to prevent weather-related issues during flooring installations. Make sure to cover the materials with a waterproof barrier while unloading them, ensure the area they are in is protected from the elements, and take the time to keep the elements out. You may also have to take additional time prepping the job site to make sure the humidity and temperature are in-line with the flooring’s warranty.

Use High-Quality Materials

Be sure to use the best materials for the job too. High-quality materials provide the highest level of protection against reasonable amounts of heat, moisture, and humidity. Installing materials that are of lower quality could ultimately lead to damaged flooring, especially in harsh weather conditions. 

Tips for Handling Weather Issues During Flooring Installations - Use High-Quality Materials.png

While weather issues during flooring installations can present serious challenges, the job can be easily completed with the right preparation. By following the above tips, you can ensure that your flooring installations go off without a hitch even in the most extreme weather conditions. 

Have any questions? Contact us here and one of our trained flooring specialists will be in touch soon.

Filed Under: Flooring Installation, Hardwood Flooring Tagged With: Floor Installation, Flooring, Flooring Installation, Hardwood, Hardwood Floor, Hardwood Flooring, Hardwood Floors, Install, Installation, Weather, Wood

By

Safety Tips for Hardwood Flooring Installation

Blog Header for Safety Tips for Hardwood Flooring Installation - Old Master Products Blog

Installing hardwood flooring is an intensive job, and if not done safely can cause serious injury. That’s why we’re offering up a few safety tips for hardwood flooring installation. As a flooring installer, it’s important to take safety seriously, and following these tips can help ensure that your projects go off without a hitch. 

Most importantly, wear proper attire when installing. There are some specific types of shoes that provide more protection for your feet, such as steel-toed boots. You should also cover your face with safety glasses and/or a mask when necessary. These items will help protect you from sawdust, fumes, and flying debris.

Next, it’s important to assess the environment where the installation will take place. Before beginning, clear the installation space of any items that could get in the way and become damaged, as well as any tripping/hazards, uncovered cords, wires, nails, and screws. Make sure you have enough room to move about freely, and all of the tools and supplies needed. And throughout the project, don’t forget to be mindful of any other potential hazards that may be present.

It’s also important to use the right tools for the job. Check the manufacturer’s directions for any specific tools that may be needed and make sure that all tools are in good working condition before you begin the installation process. Avoid using any tools that appear to be damaged or malfunctioning in any way. 

Finally, use caution when using power tools. Tools such as saws and drills carry serious risks, so make sure you’re familiar with the operating instructions and any safety precautions before you begin. Always make sure that your work area is free of any debris and make sure to keep your hands and clothing away from any moving parts. 

Heavy lifting can be a major hazard during floor installation projects, so make sure to use appropriate lifting methods. This means always lifting with your legs and not your back. If the material is too heavy, find someone to help you. It’s also important to take frequent breaks to avoid overexertion.

These safety tips for hardwood flooring installation are just the tip of the iceberg. When it comes to safety on the job, it’s important to take the extra step to ensure that safety is always top of mind. As flooring installers, it’s up to us to make sure the job gets done safely and that everyone’s safety is taken into account. Be sure to follow the manufacturer’s guidelines and your own common sense when it comes to keeping yourself, your team, and the job site safe.

Filed Under: DIY, Flooring Installation, Hardwood Flooring Tagged With: Floor Installation, Flooring, Flooring Installation, Hardwood, Hardwood Floor, Hardwood Flooring, Hardwood Floors, Install, Installation, Safety, Safety Tips, Tips, Wood

By

Dangers of DIY Hardwood Floor Installation

DIY Hardwood Floor
The repairman laying laminate flooring at home

Installing Hardwood Floors

Are you thinking of installing a hardwood floor in your home yourself? DIY hardwood floor installation can seem like quite a bargain—saving time, money, and effort. However, home improvement projects can have serious consequences when done incorrectly — and hardwood floor installation is no exception. 

In this blog post, we will be exploring the potential dangers of DIY hardwood floor installation so that homeowners like you can make an informed decision on whether or not to proceed with the project. Read on to learn more – 

Safety

One of the biggest risks involved with a DIY hardwood floor installation is safety. Working with tools that you may not be familiar with and dealing with hazardous materials can be dangerous. It is easy to get hurt or injure yourself. Things can also go wrong with tools that you may not have the expertise to understand how to correctly use. The costs of a potential hospital visit or potential damages to the hardwood floor can quickly add up. 

Quality

Another risk is the quality of the end result. When it comes to hardwood floor installation it is important to get the desired results. With a DIY project, it is easy to overlook the importance of a level floor, clean straight cuts, and cuts for the transition pieces. Poor workmanship can lead to a damaged final product that is not covered under any warranties. 

When it comes to product knowledge the stakes are even higher. Hardwood flooring is just one part of the project. Understanding how to lay the floor correctly and what tools, adhesives, and fasteners you need can be tricky. You may think you can get away with using any option, but that could lead to the flooring not being secure, wobbling when people walk on it, or worse. 

Experience

Lastly, is the time factor. It takes time for a DIY hardwood floor installation. One of the biggest benefits of professional installers is that they have the experience, the tools, and the team to get the job done quickly, correctly, and safely. Time is money and sometimes getting it done quickly is worth more than the time you would have on your hands to complete a DIY project. 

DIY hardwood floor installation comes with a lot of risks that can range from physical harm to damaged products and financial costs. Weigh the options carefully before making a decision. Professionals bring experience, product knowledge, and the right tools to get the job done right, quickly, and safely. Although it can be tempting to do it yourself, it is important to evaluate the risks and costs associated first.

Although we don’t sell to the public, we can connect you to a vast network of dealers to purchase our material. We also can connect you with professional flooring contractors to complete your installation. Reach out to us or visit one of our seven OMP locations to learn more.

Filed Under: DIY, Flooring Installation Tagged With: DIY, DIY Installation, Floor Installation, Flooring, Flooring Installation, Hardwood, Hardwood Floor, Hardwood Flooring, Hardwood Floors, Install, Installation, Wood

By

5 Essential Tools Hardwood Flooring Installers Should Have On Hand

Hardwood Flooring Tools

As flooring installers and contractors know, having the right tools is imperative to ensuring a quality job every time. That’s why we’ve taken the time to list the top tools hardwood flooring installers should have on hand. Whether you’re installing hardwood for the first or five-hundredth time, these tools are must-haves for anyone serious about achieving a flawlessly finished hardwood flooring installation. 

Tools Hardwood Flooring Level

Level

First up, we have the level. It’s an essential tool you’ll want to make sure you always have on hand. Not only will it give you an indication of how level your floors are, but it can also be used to adjust the alignment of your flooring pieces. Plus, a level can be used to check other vertical or horizontal surfaces, like walls and windows, in your home or business. 

Saw

Second, on the list is a saw. A saw is an essential tool for cutting your planks to size. Having the right type of saw for the job can make a huge difference in the tools’ durability, accuracy, and quality of the finished product. Whether you need a table saw, miter saw, circular saw, or jigsaw, make sure you have the right saws for the job. 

Tools Hardwood Flooring Saw
Tools Hardwood Flooring Rubber Hammer

Rubber Hammer

That leads us to our third tool: the rubber hammer. A soft-head rubber hammer is great for installing wood floors, as it won’t mar or damage the wood the way a regular hammer might. It’s also great for pushing boards into place prior to nailing them down. 

Spacers

Next up is spacers. Spacers help ensure your boards are correctly spaced and that your flooring installation looks professional and even. You’ll want different sizes for different uses, so make sure your toolbox is well-stocked – you never know when you might need them! 

Tools Hardwood Flooring Spacers
Moisture Meter

Moisture Meter

Finally, a moisture meter. It’s important to check the moisture content of the subfloor, location, product, and more to make sure it’s adequately dry. Having the appropriate moisture meter will help guarantee the best possible job and a successful installation. 

So there you have it – the 5 essential tools flooring installers should have on hand. Installing hardwood floors is all about precision, accuracy, and quality. And having the right tools on hand to complete the job is the key to success. Happy flooring!

Although we don’t sell to the public, we can connect you to a vast network of dealers to purchase our material. We also can connect you with professional flooring contractors to complete your installation. Reach out to us or visit one of our seven Old Master Products locations to learn more.

Filed Under: Flooring Installation Tagged With: Floor, Floor Installation, Flooring, Flooring Installation, Floors, Guide, Hardwood, Hardwood Floor, Hardwood Flooring, Hardwood Floors, Install, Installation, Installation Tools, Tips, Tool, Tool, Tricks

  • « Previous Page
  • 1
  • 2
  • 3
  • About
  • Products
  • Customers
  • Locations
  • Resources
  • Blog
  • Careers
  • Contact
  • (800) 300-5158

Copyright © 2026 · Terms & Conditions · Privacy Policy