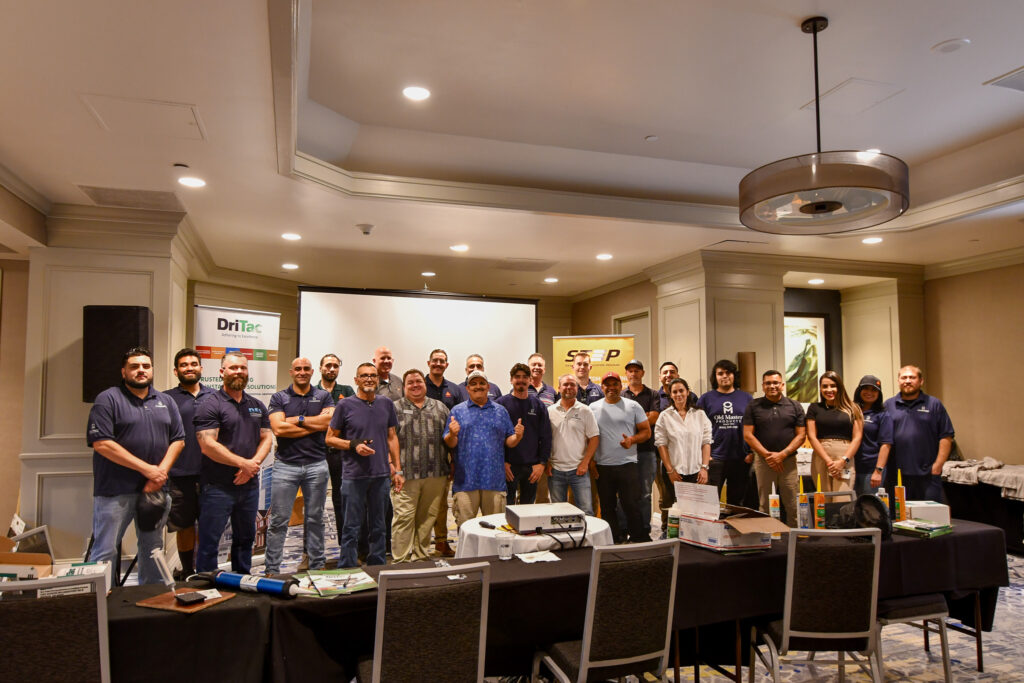
Date: August 3rd, 2023
Location: Anaheim, California
The Sika® Technical Education Program (STEP) took a significant step forward in enhancing the knowledge and skills of flooring contractors and installers during our one-day training event. This regional event was part of the year-long Sika STEP Series, aimed at educating professionals about best practices for utilizing components of the Sika® Secure System.
Sika STEP – Going Beyond the Expected
The Sika STEP Series stands as a testament to Sika’s commitment to fostering excellence in the flooring industry. By bringing together experts, technicians, and eager learners, the event delved into an array of crucial topics designed to equip participants with the technical expertise required to excel in flooring installations.
Moisture Mitigation
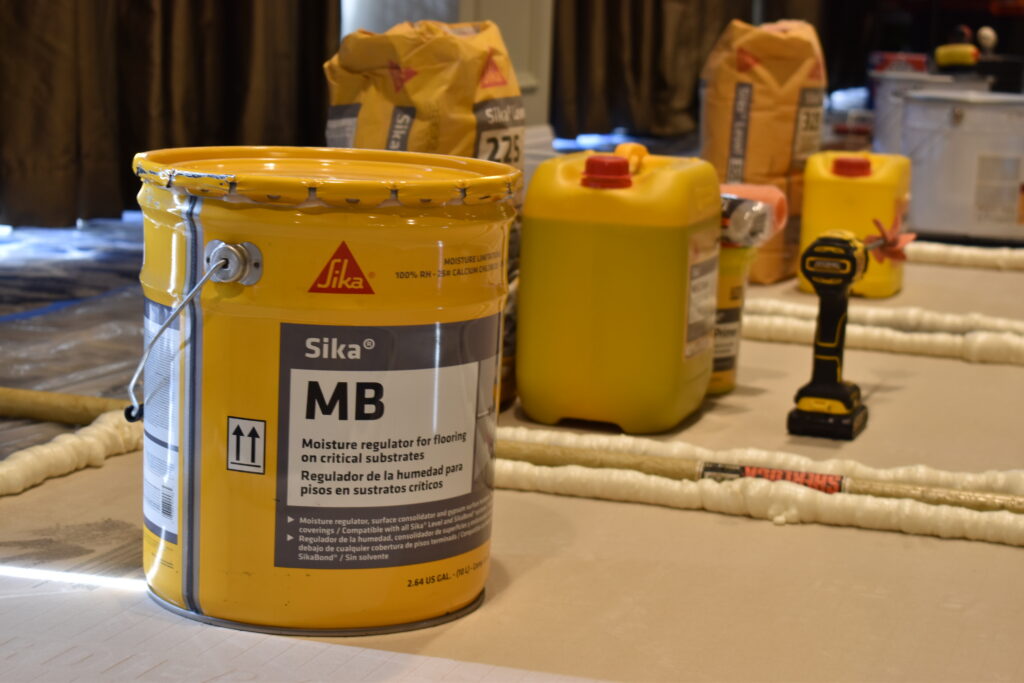
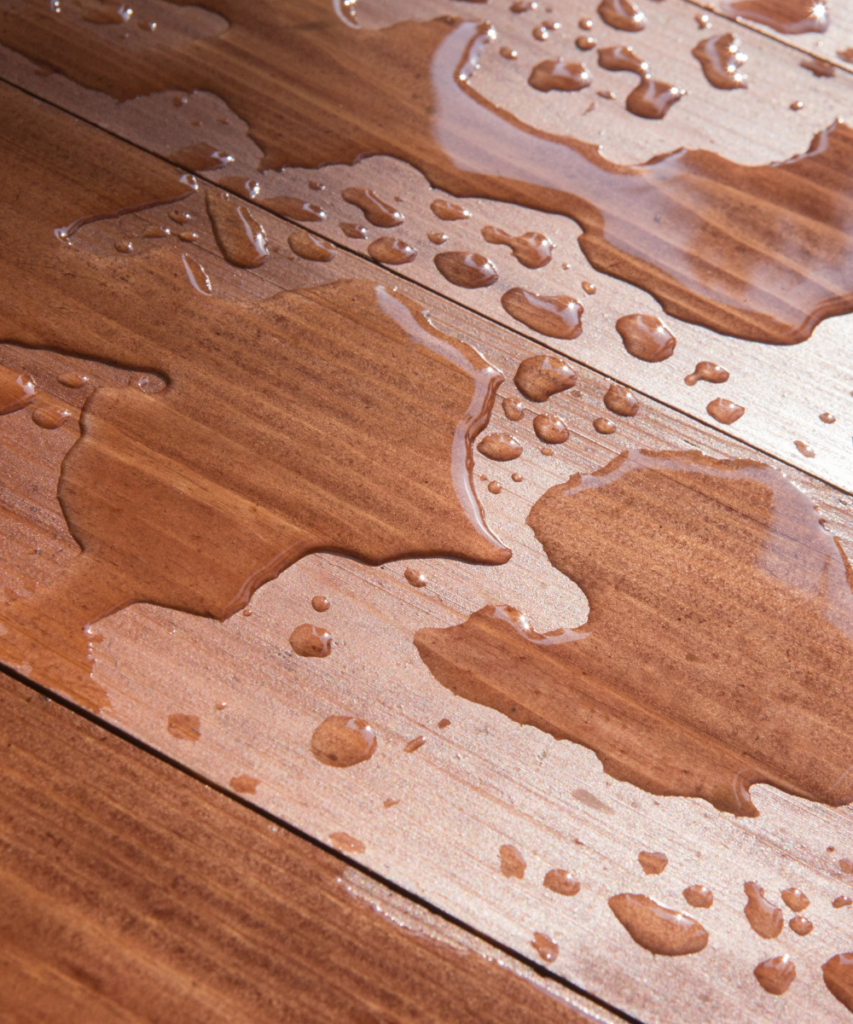
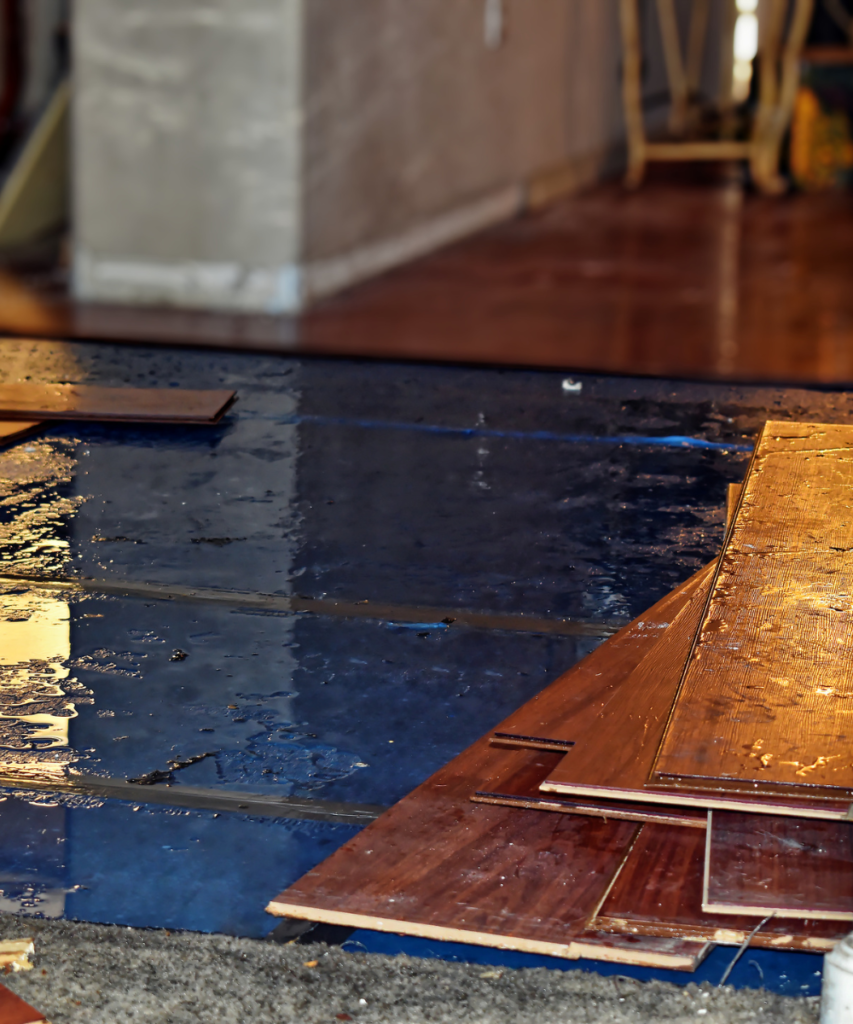
Moisture mitigation is a critical aspect of successful flooring installation and more importantly, the longevity of your installation. Common issues that arise due to moisture include problems like “bubbling” and seam failure. To prevent such problems, thorough testing for moisture is essential. Testing for moisture will allow you to ensure you are meeting manufacturers’ requirements and industry standards. When it comes to moisture, two methodologies are used to test:
- Qualitative Moisture Tests determine if moisture is present: Plastic Sheet, Mat Bond, Concrete Surface PH
- Quantitative Moisture Tests reveal how much moisture is present: Calcium Chloride, Relative Humidity, Electrical Impedance
Once moisture issues are identified, effective solutions must be implemented. So, what steps can you take?
- Reactive Penetrants: These reduce moisture transfer from the slab by reducing the surface porosity of the concrete by combining with the hydroxides within the cement paste
- High-Performance Adhesives: It typically requires the slab to be “new” as well as have a properly placed intact vapor retarder
- All-in-One Adhesives: It will create a membrane, using a specific trowel, that will keep the moisture in the subfloor
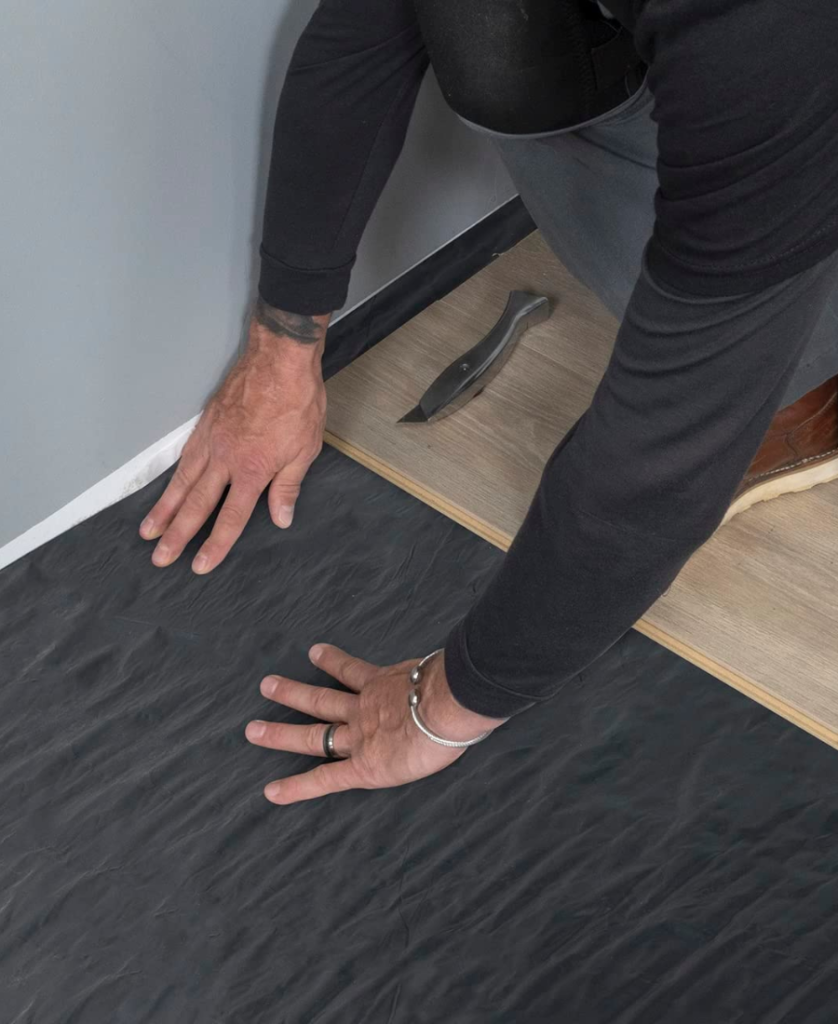
- Rolled Moisture Barriers: Membranes utilize a specialty fabric that creates a buffer between the slab and the flooring material. This fabric is typically not attached or adhered to the substrate
- Epoxies: It will create a membrane by penetrating the subfloor and embedding the moisture inside
Subfloor Preparation
Proper subfloor preparation sets the foundation for a durable and flawless flooring installation. In most cases, the longevity of your installation is directly related to the quality of the subfloor preparation. Let’s dive into the critical components and best practices of subfloor preparation that were covered at Sika STEP.
Self-Levelers: The process ensures seamless product distribution as it naturally moves from higher to lower regions, eliminating the need for additional tooling. Notably, surface tooling imperfections undergo self-correction, resulting in a polished final surface. Moreover, successive pours seamlessly merge, eradicating uneven bonding edges. This innovation holds significance due to the increasing prevalence of thinner vinyl goods and the trend toward larger floor tiles, making the achievement of smooth and integrated surfaces all the more crucial.
Flatness (FF) vs Levelness (FL): The concept of flatness pertains to the smoothness of a floor’s surface, which is chiefly influenced by finalizing procedures like screeding, smoothing, and troweling. In contrast, levelness refers to the extent to which the slab’s surface approaches a state of true horizontal perfection. It’s important to note that levelness is independent of the finish imparted by the craftsmen during the construction process.
Underlayment vs Topping: Underlayments are applied over existing subfloors to create a smooth and even surface for the installation of various floor coverings such as sheet vinyl, vinyl composition tile (VCT), wood, ceramic tile, and carpet. On the other hand, toppings serve a comparable purpose but function as the final finished floor themselves, eliminating the need for additional floor coverings. Toppings find application in settings like warehouse floors, light industrial spaces, and retail stores. Additionally, concrete toppings offer the flexibility to incorporate pigmented color dyes, stains, saw cuts, or mechanical polishing, resulting in visually appealing decorative concrete surfaces.
Types of Self-Leveling Underlayment:
- General – Suitable for a wide range of substrates with efficient application.
- Gypsum-based or Lite – Ideal for wooden framed buildings, alleviating pressure on floor joists.
- Polymer Modified – Reduces the necessity for priming or extensive surface preparation.
- Exterior – Establishes a durable surface capable of withstanding freezing and thawing conditions.
Surface Preparation
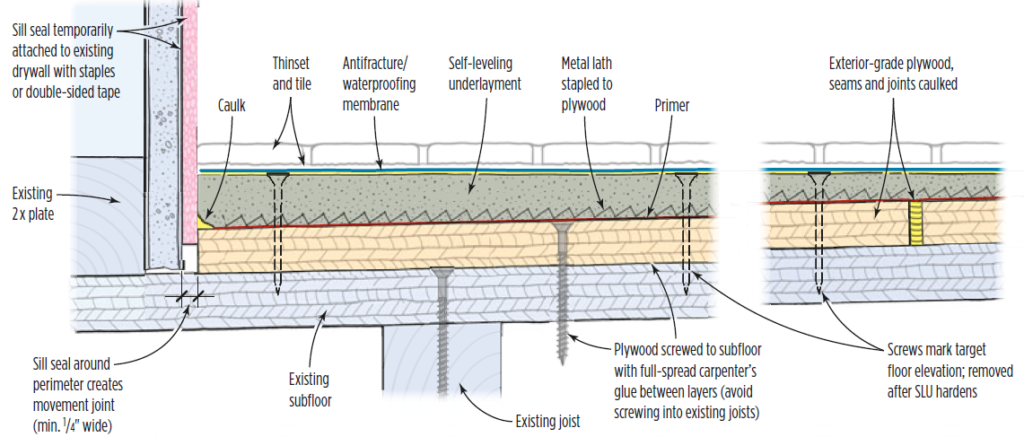
At Sika STEP we focused on how surface preparation is a critical and paramount step in the application process. It cannot be overstated how crucial it is to start with a dry, clean, and stable substrate. Before applying any treatment, ensure the removal of previous coatings, sealers, cutbacks, wax, or any other existing materials. Additionally, it’s essential to condition the substrate to the appropriate temperature before proceeding. Conduct a water drop test to determine if your surface is porous or non-porous. For OSB and wood subfloors, they must comprise at least two layers of exterior-grade plywood. The deflection of the subfloor must adhere to the parameter of L/360. To guarantee integrity, the wood must be securely fastened, bonded, and free from contaminants. For precise requirements, it’s advisable to consult the manufacturer for guidance.
Subfloor Preparation Application Tools
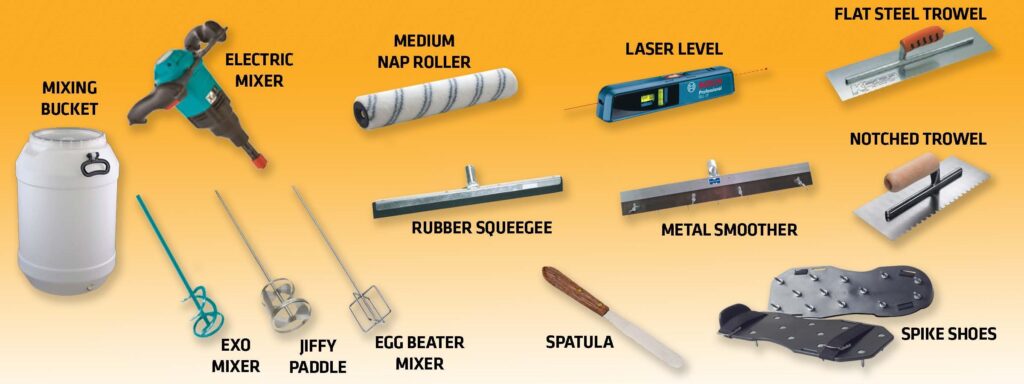
Subfloor Preparation Application
During the process of working with this material, there are key steps to follow. First, for mixing, it’s important to introduce the correct amount of clean water into a clean mixing barrel. Begin the mixing process while adding the powder, ensuring that the mixture remains free of lumps. Be cautious not to overmix or raise the mixing paddle above the surface, as this could introduce air into the mixture. When tackling larger projects, it’s advisable to mix 2-3 bags simultaneously, following the same procedure. When it comes to pouring the mixture, it should be poured directly onto the floor, and another batch should be mixed promptly to avoid cold joints. Starting in lower areas and using a gauge rake can help move the material to the desired locations. Special attention should be given to bridging expansion and control joints, initially using foam tape and cutting the leveler within a 4-hour window. For larger applications, pumping can be employed, and during pouring, a ribbon pattern is recommended to maintain a wet edge. To ensure a smooth application, rolling in two directions with a spike roller can help eliminate installation marks and trapped air. It’s crucial to avoid overworking the material to achieve the best results.
How Temperature & Humidity Impact Application:
- Low Temperature – Longer Open Time, Separation
- High Temperature – Shorter Open Time, Bad Levelling, Soft, Cracks
- Too High Humidity – Longer Drying Time
- Too Low Humidity – Problems with Hardening, ”Burning “, Low Physical Properties
- Draught – Too Fast Drying of The Surface, Cracks
Conclusion
In conclusion, the Sika STEP exemplifies Sika’s unwavering dedication to elevating the flooring industry through comprehensive education. The recent one-day training event, a part of the broader STEP Series, served as a platform for flooring professionals to gain valuable insights and skills concerning the Sika® Secure System components. Covering essential topics such as moisture mitigation, subfloor preparation, and surface preparation, the event emphasized the significance of these factors in ensuring successful and enduring flooring installations. The integration of expert knowledge, hands-on techniques, and cutting-edge insights showcased Sika’s commitment to fostering excellence within the industry. As the attendees departed equipped with newfound technical expertise and proficiency, Sika’s commitment to going beyond expectations in empowering flooring contractors and installers became strikingly evident, setting the stage for a future of exceptional flooring installations built upon a solid foundation of knowledge and skill.